
Enhance Your Visuals with Aerial Photography Techniques
- Jordan Licon

- Feb 2
- 5 min read
When I first started exploring photography, I quickly realized that capturing images from the ground only tells part of the story. To truly elevate my visuals, I turned to aerial photography techniques. Using drones has opened up a whole new world of creative possibilities. Whether you're a hobbyist or a professional, incorporating drone shots can transform your portfolio and give your visuals a fresh, dynamic edge.
In this post, I’ll share practical tips and insights on how to enhance your visuals with drone photography. I’ll walk you through essential aerial photography techniques, equipment choices, and creative ideas that you can start using right away. Let’s dive in and take your photography to new heights.
Why Aerial Photography Techniques Matter
Aerial photography techniques are more than just flying a drone and snapping pictures from above. They involve understanding angles, lighting, composition, and movement to create compelling images that stand out. When done right, aerial shots can reveal patterns, textures, and perspectives that are impossible to capture from the ground.
For example, shooting a winding river from a high angle can highlight its natural curves and surrounding landscape in a way that feels almost abstract. Or capturing a cityscape at sunset can showcase the interplay of light and shadow across buildings, streets, and parks.
Mastering these techniques helps you:
Create unique perspectives that grab attention
Add depth and scale to your images
Tell a more complete story through your visuals
Stand out in a crowded market with fresh content
By focusing on these elements, you can make your drone photography more than just pretty pictures — you create images that engage and inspire.

Essential Aerial Photography Techniques to Try
To get started with aerial photography techniques, here are some key tips that have helped me improve my shots dramatically:
1. Plan Your Flight and Shots
Before you take off, plan your route and the shots you want to capture. Consider the time of day, weather conditions, and the location’s features. Early morning or late afternoon light often produces the best results with soft, warm tones and long shadows.
2. Use the Rule of Thirds
Just like ground photography, the rule of thirds applies to aerial shots. Imagine your frame divided into a 3x3 grid and place key elements along these lines or intersections. This creates balanced and visually appealing compositions.
3. Experiment with Altitude
Vary your drone’s altitude to capture different perspectives. Flying low can highlight details and textures, while higher altitudes reveal patterns and broader landscapes. Don’t be afraid to mix it up to find the most striking view.
4. Incorporate Movement
Use your drone’s ability to move smoothly to add dynamic elements. Try slow pans, orbits around a subject, or gradual ascents and descents. These movements can add cinematic quality to your photos and videos.
5. Mind Your Exposure and Settings
Adjust your camera settings manually when possible. Use a low ISO to reduce noise, set the shutter speed according to the lighting, and shoot in RAW format for better post-processing flexibility.
6. Focus on Leading Lines and Patterns
Look for natural or man-made lines that guide the viewer’s eye through the image. Roads, rivers, fences, and shadows can all serve as leading lines. Patterns like crop fields, rooftops, or waves add texture and interest.
By applying these aerial photography techniques, you’ll start capturing images that feel intentional and polished.
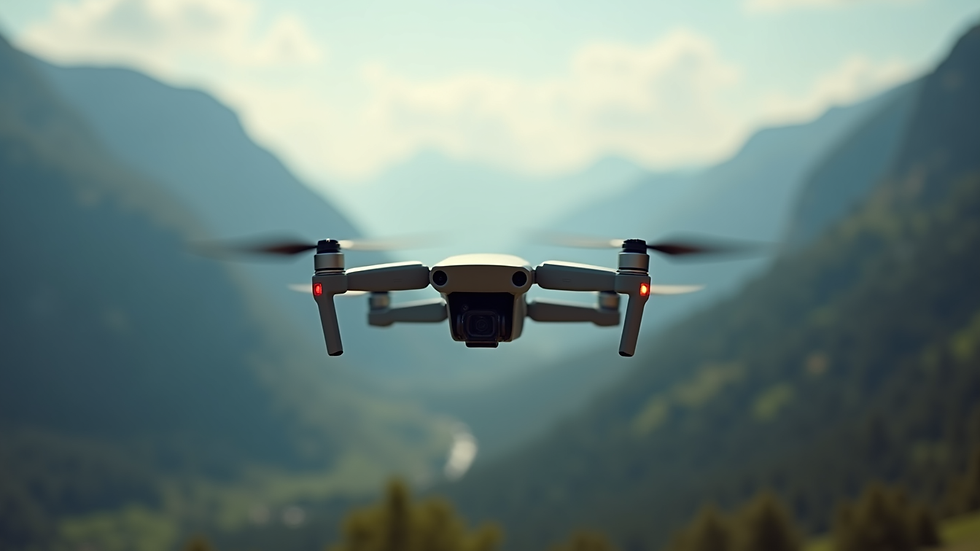
Choosing the Right Drone for Your Visuals
Selecting the right drone is crucial for achieving high-quality aerial shots. When I upgraded my equipment, I noticed an immediate improvement in image clarity and flight stability. Here are some factors to consider:
Camera Quality: Look for drones with at least a 12MP camera and 4K video capability if you want sharp, detailed images.
Flight Time: Longer battery life means more shooting time. Aim for drones with 20-30 minutes of flight per battery.
Stability and GPS: Features like GPS positioning and gimbals help keep your shots steady and smooth.
Portability: If you travel often, a compact, foldable drone is easier to carry.
Ease of Use: Beginner-friendly drones with intuitive controls and obstacle avoidance can save you time and frustration.
Some popular models I recommend include DJI Mavic Air 2, DJI Mini 3 Pro, and Autel EVO Lite+. These drones balance performance and price well, making them great for both beginners and experienced photographers.
How to Edit Your Aerial Photos for Maximum Impact
Capturing great aerial shots is just the first step. Editing plays a huge role in enhancing your visuals and bringing out the best in your images. Here’s how I approach editing my drone photos:
1. Start with Basic Adjustments
Crop and straighten your image to improve composition.
Adjust exposure, contrast, and highlights to balance the light.
Correct white balance to ensure natural colors.
2. Enhance Colors and Details
Boost vibrance and saturation carefully to make colors pop without looking unnatural.
Use clarity and sharpening tools to bring out textures and details.
Apply graduated filters to darken skies or brighten foregrounds selectively.
3. Remove Distractions
Use spot healing or clone tools to eliminate unwanted objects like power lines or birds.
Clean up any lens flare or sensor dust spots.
4. Experiment with Creative Effects
Try black and white or muted color palettes for a different mood.
Add subtle vignettes to draw attention to the center of the image.
Editing software like Adobe Lightroom and Photoshop are my go-to tools, but there are also excellent mobile apps like Snapseed and VSCO for quick edits on the go.
Unlocking Creative Potential with Drone Photography and Videography
One of the most exciting aspects of using drones is the ability to combine photography with videography. The smooth, sweeping movements of a drone camera can tell stories in ways static images cannot. Whether you’re creating promotional content, documenting events, or simply exploring your creativity, drone footage adds a cinematic dimension.
If you want to explore this further, I recommend checking out resources on drone photography and videography. They offer great tutorials and inspiration to help you master both stills and motion.
By blending aerial photography techniques with video, you can produce engaging content that captivates your audience and elevates your brand.
Taking Your Visuals to New Heights
Incorporating aerial photography techniques into your workflow is a game-changer. It allows you to see the world from fresh perspectives and create visuals that truly stand out. Remember to plan your shots, experiment with angles and movement, and invest time in editing to maximize impact.
Whether you’re capturing landscapes, urban scenes, or special events, drones offer unmatched creative freedom. With practice and patience, you’ll find yourself producing stunning images and videos that enhance your storytelling and visual appeal.
So, why wait? Grab your drone, get out there, and start exploring the sky. Your next breathtaking shot is just a flight away.


Comments