Collaborating Effectively on Photography Projects: Client Collaboration Techniques
Working on photography projects is always exciting, but it becomes even more rewarding when collaboration flows smoothly. Over the years, I’ve learned that effective collaboration is the backbone of successful photography projects.
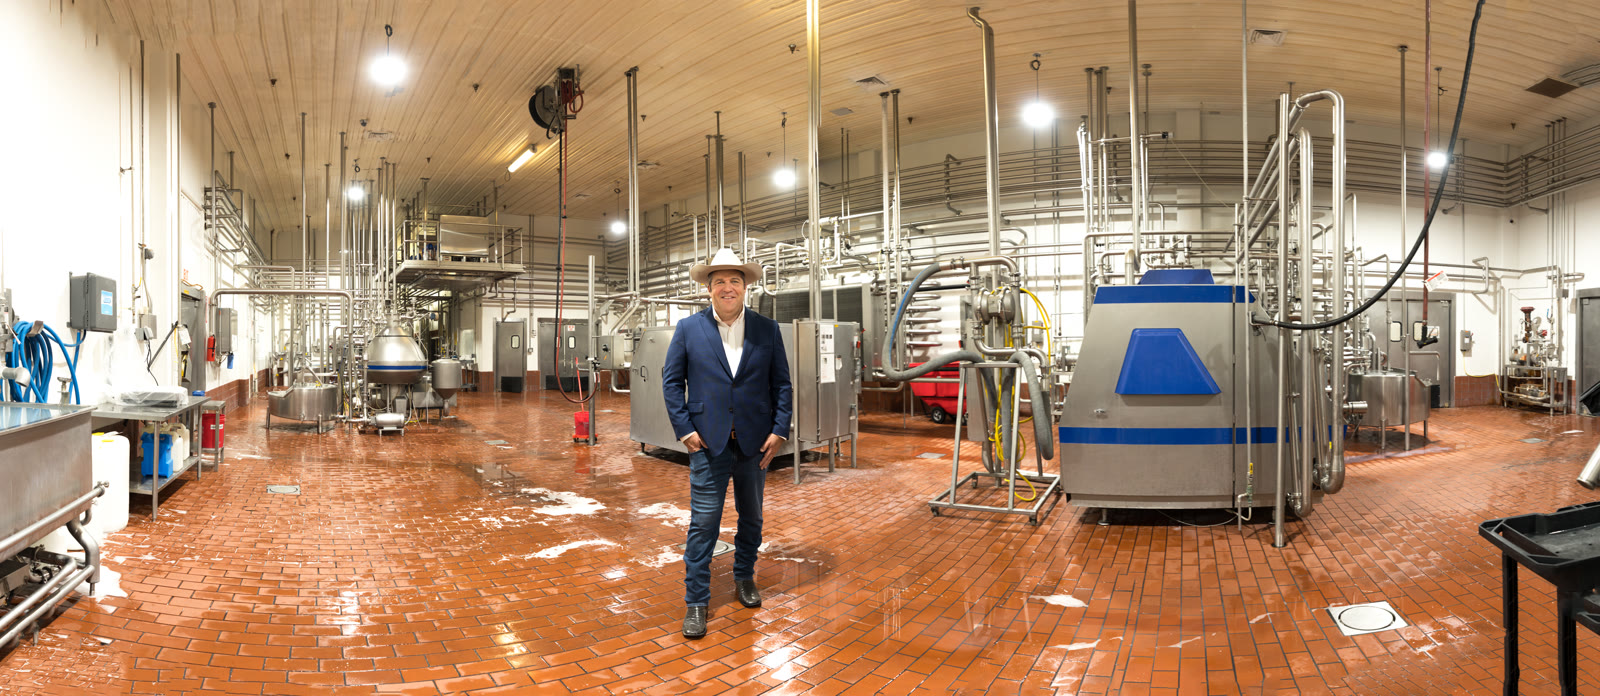
Working on photography projects is always exciting, but it becomes even more rewarding when collaboration flows smoothly. Over the years, I’ve learned that effective collaboration is the backbone of successful photography projects. Whether you’re working with clients, models, stylists, or other creatives, mastering client collaboration techniques can elevate your work and make the entire process enjoyable.
Why Client Collaboration Techniques Matter
Photography is not just about clicking the shutter; it’s about telling a story that resonates with the client’s vision. When you collaborate effectively, you ensure that everyone involved is on the same page. This reduces misunderstandings, saves time, and leads to better results.
For example, I once worked on a branding shoot where the client had a very specific mood in mind. By using clear communication and client collaboration techniques, I was able to capture exactly what they wanted. We discussed the concept in detail, shared mood boards, and kept an open line of communication throughout the shoot. The result? A portfolio of images that perfectly matched their brand identity.
Essential Client Collaboration Techniques for Photography Projects
Here are some practical client collaboration techniques that I rely on to keep projects running smoothly:
1. Start with a Clear Brief
Before the camera even comes out, make sure you have a detailed brief. Ask your client about their goals, preferred style, color schemes, and any must-have shots. This initial step sets the foundation for the entire project.
- Use questionnaires or forms to gather information.
- Encourage clients to share examples or inspiration.
- Clarify any vague points immediately.
2. Use Visual Tools to Align Expectations
Visual aids like mood boards, sketches, or sample images are invaluable. They help bridge the gap between words and visuals, ensuring everyone understands the creative direction.
- Create a shared Pinterest board or Google Drive folder.
- Update the board as ideas evolve.
- Invite client feedback on these visuals.
3. Maintain Open and Regular Communication
Keep your client in the loop at every stage. Whether it’s pre-shoot planning, during the shoot, or post-production, regular updates build trust and prevent surprises.
- Schedule check-ins via email or video calls.
- Share behind-the-scenes shots to keep excitement high.
- Be responsive to questions and concerns.
4. Set Realistic Timelines and Deliverables
Agree on deadlines and deliverables upfront. This helps manage expectations and keeps the project on track.
- Break down the project into phases with clear milestones.
- Communicate any delays as soon as they arise.
- Provide progress reports when possible.
5. Be Open to Feedback and Adapt
Feedback is a gift. Listen carefully to your client’s input and be willing to make adjustments. This flexibility often leads to stronger final results.
- Ask specific questions to understand feedback better.
- Offer your professional opinion tactfully.
- Confirm changes before proceeding.
Tools and Platforms That Enhance Collaboration
In today’s digital world, several tools can make client collaboration easier and more efficient. I’ve found these particularly helpful:
- Project Management Software: Tools like Trello or Asana help track tasks and deadlines.
- Cloud Storage: Google Drive or Dropbox allow easy sharing of files and images.
- Communication Apps: Slack or WhatsApp keep conversations organized and quick.
- Online Proofing Tools: Platforms like Pixieset or ShootProof enable clients to review and select images seamlessly.
Using these tools not only streamlines the workflow but also creates a professional impression that reassures clients.
Handling Challenges in Collaboration
No project is without its bumps. Sometimes, clients may have unclear visions or change their minds mid-project. Here’s how I handle these situations:
- Clarify and Document: Always confirm changes in writing to avoid confusion.
- Stay Calm and Professional: Keep the tone positive and solution-focused.
- Educate the Client: Gently explain how certain changes might affect the timeline or quality.
- Offer Alternatives: Provide options that meet the client’s needs without compromising your standards.
Remember, effective collaboration is about partnership. When you approach challenges with empathy and professionalism, you build stronger relationships.
Building Long-Term Relationships Through Collaboration
Successful collaboration doesn’t end with one project. It lays the groundwork for ongoing partnerships. When clients feel heard and valued, they’re more likely to return and recommend your services.
Here are some tips to nurture these relationships:
- Send follow-up messages after project completion.
- Share sneak peeks or updates on future work.
- Offer loyalty discounts or referral incentives.
- Keep your portfolio updated and share it regularly.
By investing in client collaboration techniques, you’re not just completing a project—you’re building a network of satisfied clients who trust your expertise.
Mastering collaboration on photography projects is a journey. With clear communication, the right tools, and a flexible mindset, you can create images that truly reflect your client’s vision. Remember, every successful project starts with a conversation. So, take the time to listen, plan, and collaborate effectively. Your next great shoot is just a conversation away.
More articles
A Better Collaboration Workflow
The most successful photography projects usually have clear communication before the camera comes out. A useful brief should explain the audience, the final use of the images, the required shot list, any brand guidelines, locations, deadlines, and approval process. For commercial clients, it also helps to identify who will make decisions on set and who will approve final selections afterward. When those roles are clear, the shoot moves faster and the final gallery is easier to evaluate. Collaboration is not about adding more meetings; it is about reducing ambiguity so the creative direction, lighting, styling, and delivery all support the same business goal.
How a Strong Creative Process Improves the Final Gallery
Successful photography projects depend on clear collaboration before, during, and after the shoot. The best results usually begin with a practical conversation about audience, usage, timeline, brand voice, must-have images, and approval requirements. That planning phase gives the photographer enough context to make stronger decisions about lighting, location, shot order, styling, and file delivery. It also helps the client understand what needs to be prepared so the shoot day feels efficient rather than rushed.
For businesses, collaboration often means identifying the real decision-makers early. Marketing teams, executives, designers, architects, public relations teams, or agency partners may all need different types of images from the same production. A clear shot list keeps the project organized, but it should leave room for discovery. Sometimes the strongest image comes from noticing how light moves through a space, how a product looks from a better angle, or how a subject relaxes after the formal frame is complete. A professional process protects the required images while still allowing the work to breathe.
After the shoot, image selection and delivery should be simple. Clients benefit from organized proofing galleries, clear naming, practical crop options, and guidance on which images are strongest for websites, social media, press, ads, and print. That final stage is part of the service, not an afterthought. A polished commercial photography workflow gives clients confidence from the first conversation to the final download, and it turns a creative session into a reliable business tool.
How to Get More Value From the Session
The most useful photography projects are planned with final placement in mind. Before booking, list the places where the images will appear: website hero sections, service pages, LinkedIn, Google Business Profile, proposals, press releases, casting submissions, printed ads, menus, or social campaigns. That simple step changes how the session should be photographed. Horizontal frames need room for headlines, vertical frames need clean subject placement for mobile, and square crops need enough breathing room to avoid cutting into the subject. When those deliverables are considered before the shoot, the final gallery gives you stronger options and reduces the need for last-minute compromises.
It also helps to think about consistency across the full brand. Color, contrast, background, wardrobe, styling, retouching, and file naming all affect how professional the final images feel once they are published. For businesses, that consistency can make a website, team page, restaurant menu, architecture portfolio, or campaign deck feel more established. For individuals, it can make a headshot, biography, speaking profile, and social presence feel aligned. The goal is to create photographs that look beautiful on their own and still work hard in the real places clients need to use them.
Practical Next Step
If the images will support a business goal, prepare a short creative brief before the session. Include the audience, deadline, final platforms, preferred crop formats, brand colors, and any examples that feel close to the desired tone. That gives the photographer a clearer target and helps the final gallery feel intentional from the first frame to the final delivery.